
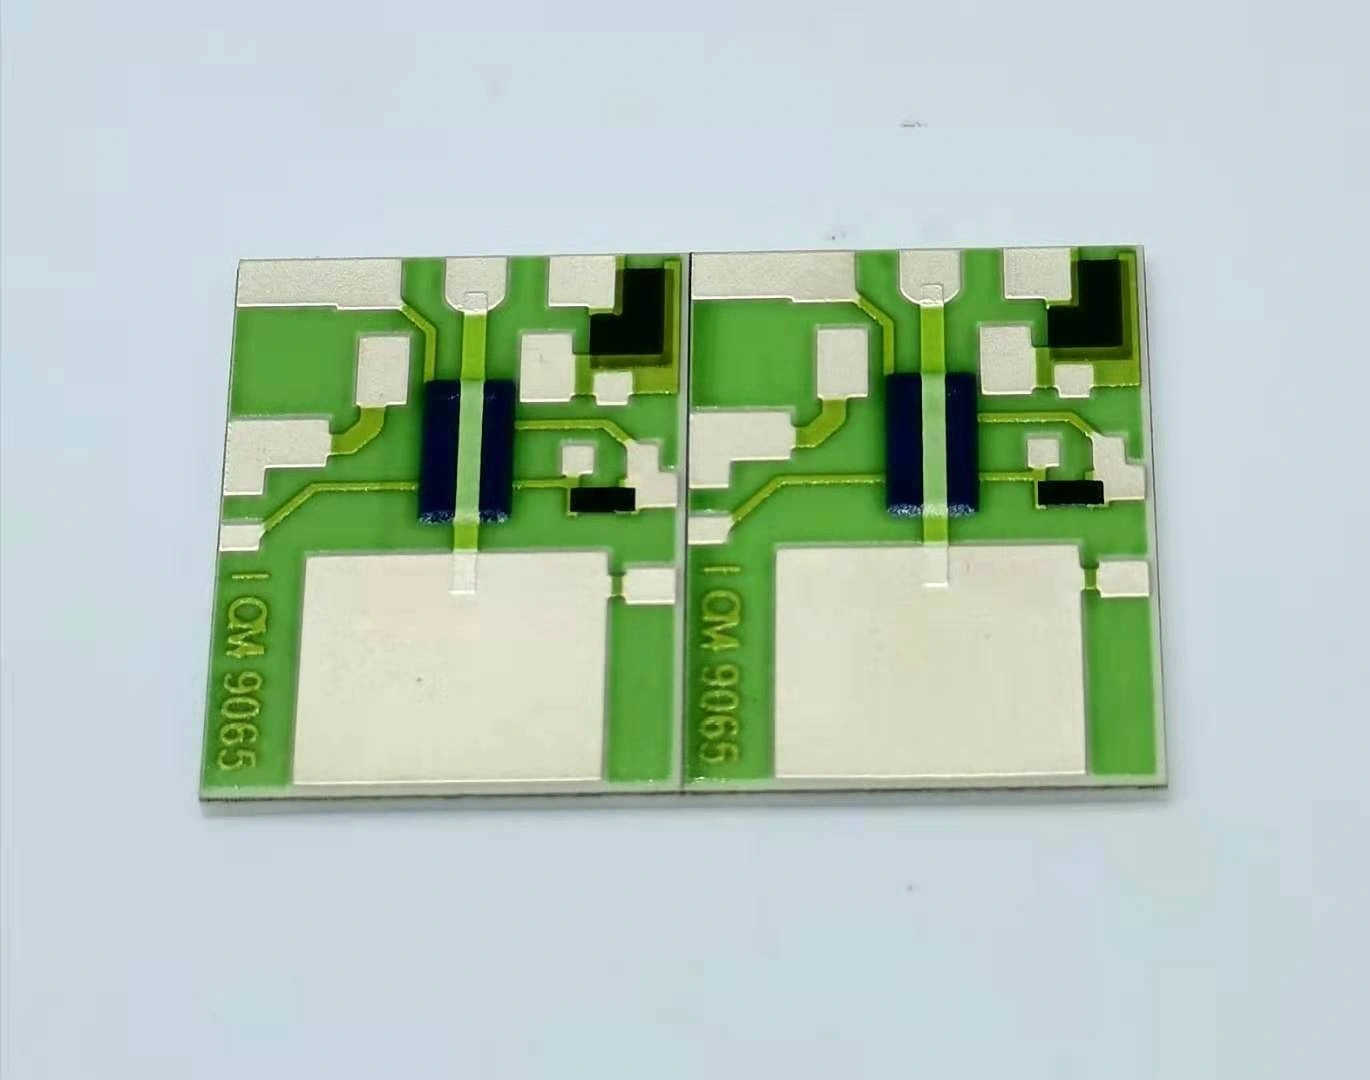
On this page
Two green glass-overglaze surfaces can look similar under one lamp and different under another. The same surface can also look pale when a broad reflection enters the camera. A colour comparison must control illumination, viewing geometry and the surface state before attributing the difference to the material. Appearance can support a defined visual requirement, but colour alone cannot establish firing completion, insulation quality or circuit reliability.
Measurement purpose
Distinguish illumination, viewing geometry and imaging effects from a physical glass-overglaze appearance difference.
Specimens and conditions
- Physical pair
- Identified candidate and approved comparison sample with relevant coating regions marked
- Surface state
- Comparable dry condition with as-found preparation history retained
Equipment and records required
- Visual comparison: Controlled identified lighting and stable sample/viewing geometry
- Optional numerical measurement: Appropriate aperture and specified colour-measurement settings for the patterned surface
Method sequence
- Baseline pair
Compare samples together with common lighting and neutral surroundings
Record: Viewing-condition record
- Controlled changes
Change illumination and angle separately
Record: Appearance response matrix
- Disposition
Separate visual acceptance from unresolved material or electrical questions
Record: Appearance decision and required functional follow-up
Decision and uncertainty
Judge appearance against the agreed physical or instrumental requirement under its stated conditions.
Lighting spectrum, reflections, aperture mixing and camera processing limit interpretation.
The appearance requirement owner approves the comparison method; functional acceptance remains with the circuit specification.
Traceable outputs
| Record | Required contents |
|---|---|
| Comparison record | Sample identities, region, source, geometry, surface state and observations |
| Image provenance | Unedited originals and any customer-image adjustments retained internally |
Method review decisions
- Compare physical samples together under identified lighting.
- Separate diffuse colour from directional gloss and reflections.
- Keep appearance acceptance separate from functional testing.
Define what the appearance comparison must decide
Begin with the actual requirement: match an approved appearance sample, identify an unexpected lot change, or produce representative product photography. These tasks need different outputs. A marketing image can be adjusted for a faithful display, but it cannot become a measurement record after selective colour editing. A production appearance check needs the physical sample and the agreed viewing conditions.
Avoid a single undefined instruction such as make the green darker. The observed shade depends on glaze composition, coverage, underlying features, illumination and reflections. Establish whether the concern is colour, opacity, gloss, thickness or an uncovered boundary. Those attributes may require different observations, and an attractive green appearance does not by itself prove that any one functional requirement is satisfied.
Compare the same pair under the same light
Place the candidate and comparison sample close together under one controlled source with a neutral surrounding field. Keep stray window light and mixed-colour task lamps from illuminating only one specimen. Record the source and the viewing arrangement. A generic description such as white LED or daylight colour temperature does not fully define the spectrum reaching the samples.
Repeat under another relevant, identified source when cross-light appearance matters. If the pair matches under one illumination and diverges under another, the evidence can indicate an illuminant-dependent match rather than a simple universal colour difference. This behaviour is commonly described as metamerism. It concerns the relationship between two surfaces and viewing conditions; it does not mean the material physically changes colour whenever the lamp is switched.
Move the viewing angle to distinguish glare from body colour
A glossy glass surface reflects part of the lighting arrangement directionally. When the reflection overlaps the region being judged, the surface can appear lighter, less saturated or almost white. Keep the sample plane and viewing direction consistent, then make a deliberate angle change to see whether the bright region moves with the reflection. A moving highlight is different evidence from a fixed pale patch.
Do not remove all gloss from the acceptance condition if gloss is part of the intended finish. Instead, record colour under the chosen comparison geometry and assess surface reflections separately. A photograph that flattens every highlight can hide useful texture information, while an uncontrolled spotlight can exaggerate unevenness. The method should preserve the distinction rather than forcing one image to answer both questions.
Keep substrate and surface state comparable
Compare the same material construction where possible. A transparent or translucent coating over white ceramic can appear different from the same nominal coating over a conductor or resistor region. Different glaze thicknesses and underlying patterns can change appearance without changing the lamp. Identify the comparison area so that a large bare pad is not averaged together with the green coating.
Record whether the surface is dry, cleaned, handled or contaminated, using only an approved cleaning method. Residue can alter reflection and apparent saturation. Do not polish or wet a sample simply to make it resemble the target. Preserve an as-found observation before any permitted preparation so that a later improvement in appearance does not erase the original condition.
Use a small observation matrix to locate the cause
Change one viewing factor at a time while keeping the same physical pair. The following outcomes guide the next examination without asserting a material failure from colour alone.
| Observation | What it suggests | Next check |
|---|---|---|
| Difference changes strongly when the lamp changes | Illuminant-dependent matching may be involved | Compare under identified sources and, if needed, spectral measurement |
| Bright patch moves when viewing angle changes | Directional reflection contributes | Evaluate colour and gloss with separately controlled geometry |
| Difference remains at one physical region under all views | Local material, coverage or surface condition requires examination | Inspect the identified region and its preparation history |
| Physical samples agree but photographs differ | Camera or image processing may dominate | Check exposure, white balance and unedited source images |
| Colour agrees but electrical tests differ | Appearance does not establish function | Investigate the relevant electrical and process evidence |
Treat camera settings as part of the record
Use consistent exposure and white balance when photographs support the comparison. Automatic settings can react differently to a larger white ceramic area or a dark background, changing the apparent green even when the sample is unchanged. Preserve the unedited original and avoid clipping highlights, because clipped pixels no longer retain the underlying colour information.
A colour target can help document the imaging condition, but it does not automatically make a phone image a spectrophotometric measurement. Display calibration, file conversion and viewing software can also change what another person sees. When an appearance decision is disputed, return to the physical samples under the agreed conditions rather than repeatedly adjusting saturation until both screens look pleasing.
Use instrumental colour data only with a defined measurement geometry
If the visual requirement needs numerical control, choose an appropriate colour-measurement method with the responsible specialist. Define the measurement aperture, sample region, geometry, treatment of specular reflection, illumination and observer settings. A small patterned ceramic may not present a uniform area large enough for the selected aperture, so the instrument can average coating, bare ceramic and metal.
Do not adopt a universal colour-difference limit from another product category. The acceptance boundary belongs to the approved appearance requirement and the actual measurement capability. Preserve repeated placements and relevant surface orientations to assess sensitivity. Instrumental agreement can support colour consistency, but it does not replace separate insulation, adhesion or other functional tests required by the circuit drawing.
Approve the appearance state without inferring firing quality
The final record identifies the physical comparison sample, inspected region, lighting, geometry and observed difference. Separate an approved visual variation from an unresolved process question. A pale appearance can justify investigation, but it is not sufficient evidence that glass has been underfired; a darker glossy appearance likewise does not prove a correct firing history.
For customer imagery, show a faithful, clear view of the actual product construction and retain the source record internally. ChipSimple’s drawing review can address material and appearance requirements by application. When a colour requirement matters to acceptance, provide the approved physical sample or an agreed measurement definition rather than relying solely on a screenshot from a different camera and lighting environment.
Define the required glass-overglaze appearance
Provide a reproducible appearance target alongside functional requirements.
- Approved physical sample or agreed numerical colour definition
- Relevant glaze region and underlying material construction
- Required illumination and viewing conditions
- Unedited photographs with consistent camera settings
- Separate functional requirements and any suspected process change
The drawing-upload form loads as you reach this section.