
On this page
A constant-width heater trace can still develop a local thermal peak near a turn. Current does not necessarily distribute uniformly across a curved path, and the substrate may remove heat differently at that location. The review must separate electrical concentration from thermal isolation, then use the real printed shape to assess both. Simply widening every turn or smoothing a thermal image does not establish the cause.
Key design decisions
- Compare inner-turn, outer-turn and straight-segment behavior.
- Use the measured printed geometry rather than an ideal zero-radius artwork corner.
- Confirm thermal measurement resolution before treating a small apparent peak as a reliable maximum.
Follow current through the complete turn
A turn changes the geometry available to current as it moves between straight segments. The inner and outer sides have different path lengths, and abrupt transitions can concentrate current locally. The degree of concentration depends on the actual conductor or resistor shape, material distribution and terminal boundary conditions.
Review both the resistive pattern and its connecting conductors. A thermal peak at a turn may originate in a conductor transition, contact region or unintended narrow section rather than the nominal resistor segment. Trace the complete electrical path and label material changes. A total resistance measurement can remain acceptable even when a small local region dissipates a disproportionate share of the power.
Measure the printed turn instead of relying on the nominal outline
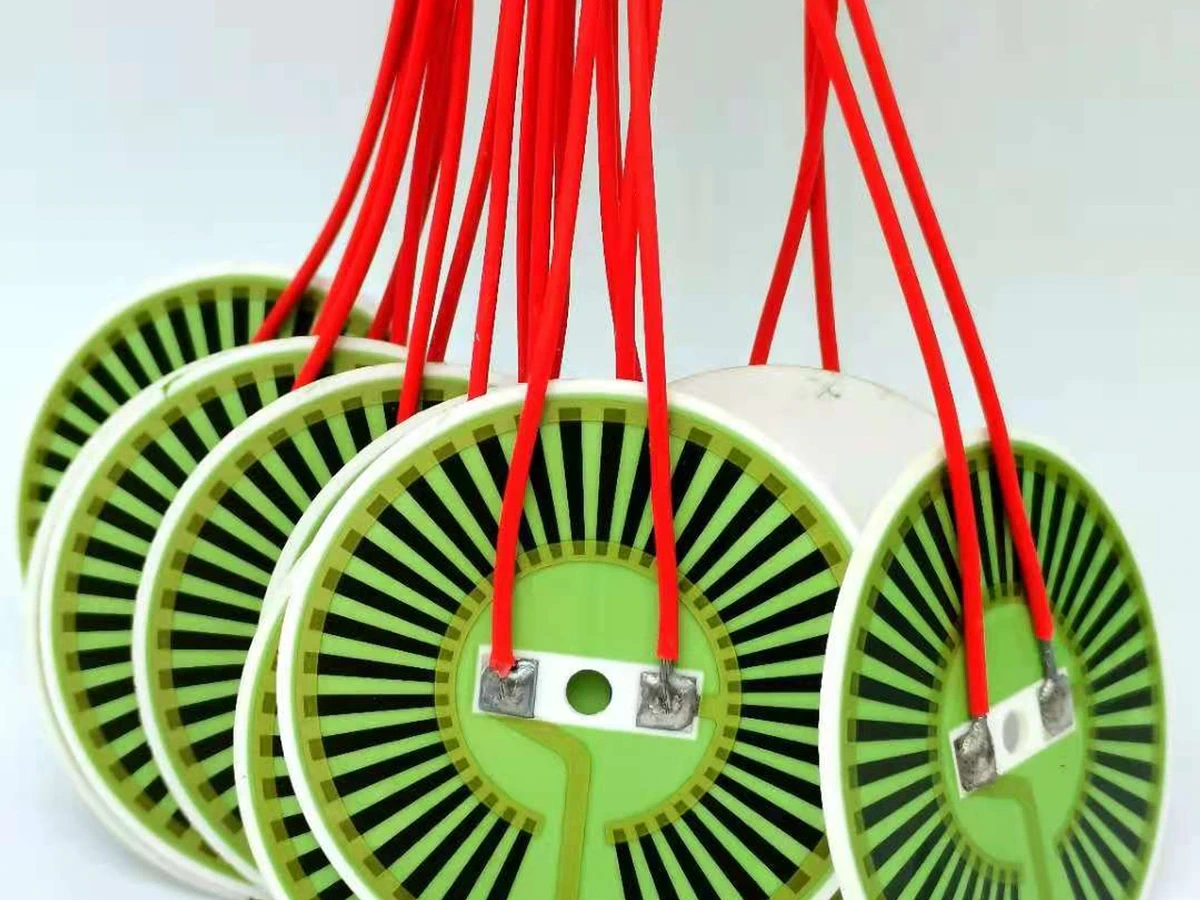
Printing and subsequent processing can change edge shape, width, thickness and registration relative to the artwork. Inspect the inner radius, outer boundary and transitions into the straight segments. Look for local necking, edge roughness, pinholes or material accumulation that could change the current path.
Record useful dimensions at several locations and preserve the image scale. A broad photograph may demonstrate the layout but not resolve the feature responsible for a hot spot. Compare multiple specimens to distinguish a systematic layout feature from a local process anomaly. Do not infer thickness from color alone or assume that a smooth-looking glass layer guarantees a uniform resistor underneath.
Connect current density to heat generation
Local electrical heating is related to the electric field and current density, or to resistivity and the square of current density in an appropriate resistive model. This explains why a concentrated current path can matter even when it occupies a small area. The resulting temperature, however, also depends on how efficiently heat leaves that region.
Keep those two calculations conceptually separate. A high local generation rate may be moderated by strong spreading into a nearby substrate region. A more modest generation rate can create a high temperature above a void or unsupported edge. A useful investigation asks whether the observed peak follows the electrical geometry, the contact boundary or both.
q_volume = J · E; for an isotropic resistive region, q_volume = ρJ²
- J: local current density in amperes per square meter.
- E: local electric field in volts per meter.
- ρ: electrical resistivity of the modeled region at its relevant condition.
The expression describes local electrical generation. Converting it to temperature requires a thermal model with real geometry, material properties and boundary conditions.
Check whether the turn has a different heat path
Turns often sit near a pattern edge, mounting opening or terminal zone. These locations can have different contact, cooling and lateral spreading from a long interior segment. Inspect the receiving surface and interface directly beneath or beside the suspected peak where the assembly permits it.
Compare the same electrical pattern under one deliberately changed thermal boundary. If improved contact removes the peak without changing the resistor, thermal isolation was important. If the peak remains aligned with the same inner corner across controlled mountings, electrical geometry deserves closer attention. Avoid changing both artwork and mounting at once because the improvement would no longer identify the controlling mechanism.
Avoid interpreting an idealized singular corner as a physical temperature
Numerical electrical models can produce increasingly large field values at an ideal sharp corner as the mesh is refined. A real printed corner has finite geometry and material structure. The model should therefore distinguish an idealization artifact from a resolved prediction about the manufactured part.
Use measured dimensions or bounded realistic corner radii and examine integrated power as well as peak field values. Couple the electrical result to the thermal problem using appropriate material and contact data. Report sensitivity to the corner representation and mesh. A colorful simulation with an unexplained peak is less useful than a bounded comparison that shows which geometry change consistently reduces concentration.
| Observation | Potential cause | Discriminating check |
|---|---|---|
| Peak repeats at the inner corner across controlled mountings | Electrical concentration associated with the turn geometry. | Compare measured turn shapes and a bounded electrical-thermal model. |
| Peak changes strongly after remounting | Local interface gap or contact variation. | Document the contact condition and repeat at the same electrical input. |
| Only one specimen shows a narrow hot region | Local print defect, necking or material discontinuity. | Inspect the affected feature at sufficient resolution and compare adjacent specimens. |
| Predicted peak grows without convergence at a zero-radius corner | Idealized geometry or mesh-sensitive field singularity. | Model realistic feature dimensions and compare integrated regional power. |
Resolve the turn with an appropriate thermal method
A small turn can be narrower than the effective measurement spot of an infrared camera. A pixel may combine the trace, adjacent substrate and background, giving an apparent value that does not represent the local maximum. Camera display resolution is not the same as a guaranteed temperature measurement over a tiny target.
Use optics, distance and target-size guidance appropriate to the instrument. Control emissivity differences between resistor, glaze and exposed metal. A contact sensor may also spread heat or obscure a small region. Document the method’s spatial limitation and compare profiles along the same coordinate line rather than selecting isolated colorful pixels from different images.
Evaluate a turn change within the whole circuit
A larger radius, a changed transition or a wider local region can alter both current distribution and total resistance. Review the complete electrical operating point after the change, especially under constant voltage where a resistance reduction can increase total input power. Compare local temperatures at matched and clearly stated electrical conditions.
Also check spacing to adjacent traces and available manufacturing margins. A geometrically gentler turn that crowds another conductor may introduce a different electrical or process problem. The final drawing should identify the intended turn geometry, critical dimensions and inspection regions, while the validation record should show that the improvement persists across the intended mounting and operating range.
Send the turn geometry and aligned thermal evidence
A turn-region review is most effective when artwork, real printed dimensions and the thermal observation share the same coordinates.
- Resistor and conductor artwork, material transitions, turn dimensions and scaled photographs of the actual printed region.
- Resistance, terminal voltage and current, drive mode and the timing of the observed local thermal peak.
- Substrate and mounting cross-section, contact material, nearby holes or supports and repeated-mounting observations.
- Thermal instrument, optics, distance, emissivity treatment and any model geometry or mesh-sensitivity results.
The drawing-upload form loads as you reach this section.