
On this page
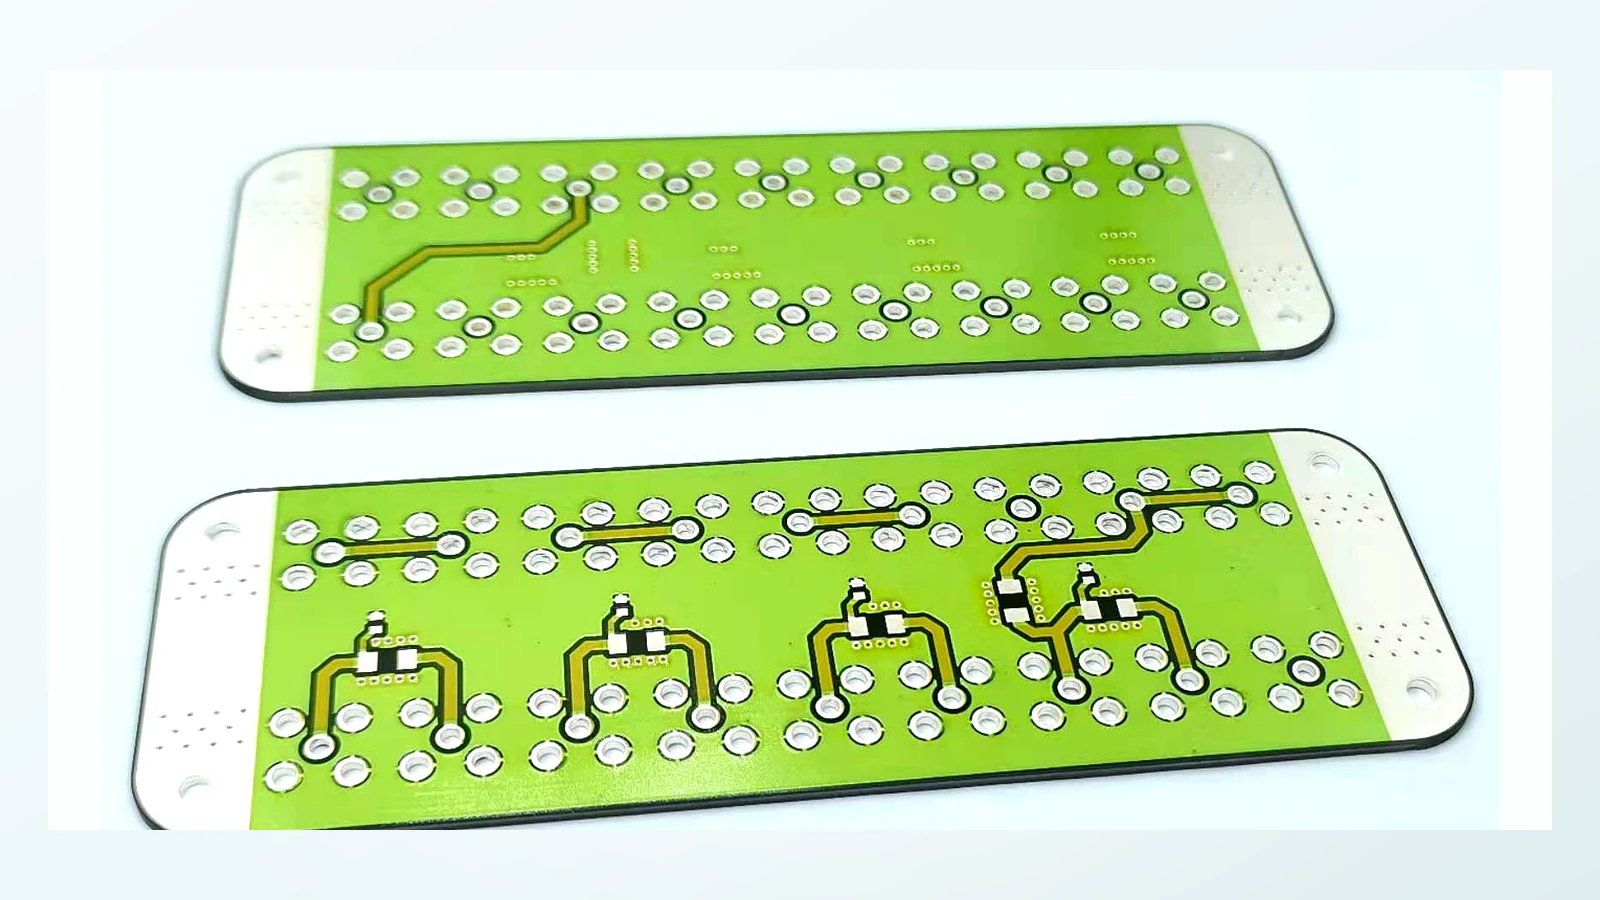
Moving conductors onto both faces of a ceramic substrate changes the product architecture. It can relieve congestion and shorten selected routes, but it also introduces face-to-face transitions, two fixture orientations and hidden relationships that a local jumper does not create. The decision should therefore be based on a traceable routing comparison, not on the visual impression that the front face looks crowded. This guide defines a decision method while leaving datum transformation and connector alignment to the dedicated double-sided alignment owner.
For a drawing-specific part, review the Custom thick film ceramic circuits construction, product evidence and quotation inputs alongside this method. Prepare the dfm checklist with your operating conditions.
Key design decisions
- Count unavoidable net crossings and classify their current, voltage and sensitivity before choosing a construction.
- Compare the complete local-jumper process chain with the face transition and second-side process chain.
- Reserve assembly, probing, coating and inspection access on both faces before reducing front-face congestion.
- Approve the architecture with representative continuity, isolation and environmental specimens rather than an unrouted diagram.
1. Define the congestion that the architecture must solve
Begin with a net map rather than a preferred construction. Mark every unavoidable crossing, the terminals each net connects, its maximum working current, potential relative to neighboring nets, measurement sensitivity and permitted path resistance. A conductor that crosses one quiet signal once presents a different problem from a return path that intersects several switched-power routes. Grouping all intersections as routing difficulty hides the electrical reason each one matters.
Then identify the geometric constraints that create each crossing: fixed connector order, die or component keepouts, resistor trimming lanes, mounting holes, edge-clearance regions, glaze openings and probe access. A crossing that disappears after a connector pin assignment change is not evidence that the ceramic requires two faces. Conversely, repeated detours around immovable functional zones can consume conductor width, increase resistance and isolate the layout from practical inspection. Record both the functional constraint and the person who can authorize changing it.
2. Establish what a local jumper would actually require
A printed crossover or attached jumper is not a zero-area bridge. Define its lower conductor, dielectric or physical separation, upper conductor or wire, overlap region, landing pads, firing or attachment sequence and inspection access. Printed dielectric introduces edge coverage, pinhole and refire questions. An attached wire introduces bond or solder lands, loop height, mechanical restraint and later handling limits. The candidate remains local only while these supporting regions do not collide with neighboring functional features.
Map the process additions for every crossing rather than multiplying a generic cost per jumper. Several crossings may share one printed dielectric operation, yet their local topography and isolation stresses can differ. Wire jumpers may use the same attachment process while demanding individual access and pull-direction clearance. If the crossing is beneath a future component, lid or coating, decide whether it can still be inspected and repaired at the required stage. A compact route that cannot be verified is not automatically the simpler architecture.
3. Account for the complete two-face construction
Two-sided routing needs a defined electrical transition between faces. The transition may be a metallized hole, an edge connection or another drawing-controlled interface; do not assume that a plated-through FR4 via is available. Show capture features on both faces, the ceramic opening or edge geometry, conductor sequence and the inspection state before later layers conceal the transition. A surface photograph cannot establish internal continuity or the effective conductive section.
The second face also changes tooling and handling. Determine which face contacts a nest at each operation, which printed features may bear on supports, how contamination is prevented, and when each face is fired or otherwise processed. Reserve areas for part identification and measurement without placing a sensitive film against uncontrolled contacts. The common mechanical coordinate convention is governed by the separate double-sided datum guide; this page only asks whether the routing benefit justifies accepting that additional controlled interface.
4. Compare resistance and coupling by route segment
Calculate path resistance from the actual candidate segments. For a uniform printed segment, a first estimate is R = Rs × L/W, where Rs is the processed sheet resistance, L is effective length and W is effective width. Add transition, landing and attachment contributions separately because they are not represented by the face conductor square count. Use supplier data only as a planning input; released values require measurements from the selected material stack and processing history.
For illustration, a detoured face segment with Rs = 8 milliohms per square, L = 36 mm and W = 0.60 mm contains 60 squares and estimates to 0.48 ohm. A two-face candidate containing two 10 mm segments of the same width estimates each face portion at about 0.133 ohm, but the two transitions must still be added. If measured transition resistance is unknown, the calculation cannot prove that the shorter route wins. It defines the measurement needed for the architecture comparison.
Rroute = sum(Rs,i × Li / Wi) + sum(Rtransition,j) + sum(Rattachment,k)
- Rs,i is processed sheet resistance for conductor segment i.
- Li and Wi are effective length and width in the same units.
- Rtransition,j and Rattachment,k are measured interface contributions.
A planning model with uniform segment thickness and stated temperature; it does not establish current capacity, transition integrity or company capability.
5. Use a weighted burden ledger instead of a crossing count
Create a ledger that makes each architecture's burden visible. Record local structures, unique process steps, critical interfaces, inaccessible regions, inspection operations and assembly restrictions. Weighting can help rank alternatives, but weights must be agreed for the project and cannot be advertised as universal design rules. A life-limited inaccessible transition may deserve more attention than several easily probed low-current crossovers.
Do not collapse different evidence into a single unexplained score. Keep the underlying quantities beside the ranking so reviewers can see whether a result changes when one assumption changes. If a two-face route reduces six printed crossovers but adds eight uninspectable transitions, the conclusion depends on the transition construction and access, not the headline crossing reduction. Use the ledger to expose missing evidence and select representative coupons rather than to simulate precision that the inputs do not support.
| Decision item | Local jumper candidate | Two-sided candidate | Required evidence |
|---|---|---|---|
| Unavoidable crossings | Named crossover or wire at each location | Moved nets plus required face transitions | Released net and keepout map |
| Series resistance | Face route plus jumper interfaces | Two face routes plus transitions | Segment and interface measurements |
| Isolation | Dielectric overlap or physical separation | Face-to-face and transition spacing | Construction-specific test plan |
| Inspection access | Local view and probe access | Both faces and transition evidence | Stage-specific inspection map |
| Assembly exposure | Loop, fillet or raised crossover | Back-face contact and fixture constraints | Assembly stack and handling flow |
6. Validate the routes that carry the highest consequence
Build representative structures using the intended substrate, conductor, dielectric or attachment materials and thermal sequence. Include the longest detour, the most highly loaded transition, the smallest drawing-controlled isolation region and at least one benign control. Measure continuity with sense points that separate face conductors from transitions. Inspect before and after any glaze, component assembly or coating that reduces access. Coupon geometry should reproduce the critical interfaces rather than offer a large, easy feature that never appears in the product.
Apply electrical and environmental conditions defined by the end-product owner. Record specimen identity, polarity, duty, temperature, humidity or contamination condition, fixture, measurement current and acceptance decision. A successful initial continuity check does not establish durability. Equally, a failed coupon cannot identify a mechanism until conductor geometry, transition construction, test contacts and specimen damage are separated. Preserve controls so the next comparison changes one discriminating factor.
7. Diagnose failures by where they follow the architecture
A resistance increase confined to a face transition points toward the transition or its land interface, while a proportional increase along every printed segment points toward conductor state or measurement temperature. Isolation failure at the edge of a printed crossover directs attention to dielectric overlap, topography and contamination; failure between opposite faces near a hole requires examination of that particular construction. Do not use the generic label routing failure when the measured location can separate the paths.
If intermittent behavior appears only after assembly, repeat the electrical map while controlling fixture pressure and handling orientation. A back-face feature may be touching a support, a wire loop may be loaded, or a ceramic crack may have extended from an opening. If the symptom follows probe placement, investigate the test setup before altering artwork. Architecture approval should retain characteristic signatures and their discriminating checks so later production changes do not restart the diagnosis from appearance alone.
8. Release a route architecture with explicit reopening triggers
The release package should contain the net classification, fixed geometry constraints, selected construction, rejected alternative, route calculations, interface evidence and stage-by-stage inspection access. Identify the exact face transition, crossover or attached jumper construction rather than allowing the fabricator to choose an unseen substitute. Link each acceptance test to the structure and processing state it represents. Changes to substrate thickness, conductor system, dielectric stack, hole or edge process, fixture contact or assembly sequence reopen the affected comparison.
For quotation, send front and back artwork with unambiguous layer viewing directions, the mechanical drawing, net current and voltage conditions, sensitive nodes, keepouts, assembly stack, environmental requirement and validation ownership. Mark which values are requirements and which remain engineering targets. That package permits a practical manufacturing review without implying that every congested ceramic circuit should be two-sided or that an early calculation guarantees a released electrical result.
Send the routing architecture package
Provide the constraints needed to compare local jumpers with a two-sided ceramic route for the actual circuit.
- Front and back net artwork, layer viewing convention and mechanical outline revision
- Net currents, voltages, polarity, duty cycle and sensitive measurement nodes
- Fixed connector, component, trimming, probe, glaze and assembly keepouts
- Permitted crossover, jumper and face-transition constructions
- Target environment, isolation method and required inspection stages
- Prototype quantities, acceptance owner and change-reopening requirements
The drawing-upload form loads as you reach this section.